Replace HP inkjet printer cartridges
Replace any low or empty cartridges in an HP inkjet printer. Identify your cartridge type and number for steps to access and replace them.
Replacement cartridges and other supplies can be purchased from the HP Store.
Note:
Help HP recycle Original HP ink and toner supplies into new products and avoid sending them to landfills. Go to HP Planet Partners - Supplies recycling program to get started.
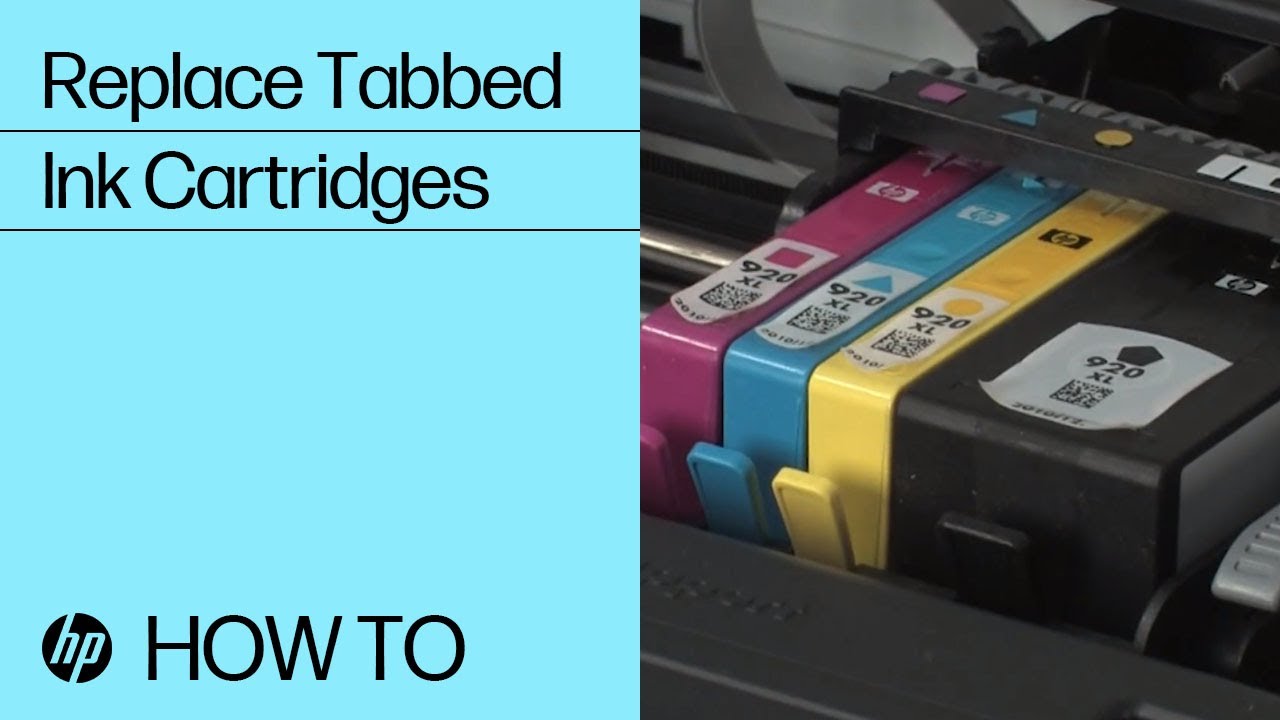
Type A - HP 178, 364, 564, 655, 862, 902-920, 934, 935 - Replace cartridges
Replace cartridges for printers that use HP 178, 364, 564, 655, 862, 902, 903, 904, 905, 906, 907, 908, 909, 910, 912, 914, 915, 916, 917, 918, 919, 920, 934, and 935 cartridges.
-
Push in the tab on a cartridge, and then pull it from the slot.
-
Remove the new cartridge from the package, and then pull the orange pull-tab and plastic wrap completely off. The paper label on the top side tears slightly to vent the cartridge.
CAUTION:Completely remove the-tab and plastic wrap before removing the orange cap in the next step. Otherwise, ink might leak.
-
Hold the cartridge by its sides, and then twist the orange cap counter-clockwise to remove it.
CAUTION:Do not touch the copper-colored contacts or the ink nozzles. Touching these parts can result in clogs, an ink system failure, and a failed electrical connection.
-
Insert the cartridge into its color-coded slot, and then press down on it until it clicks into place.
-
If the cartridge does not firmly seat, take it out of the slot, gently bend the tab away from the cartridge no more than 1.27 cm (0.5 in), and then reinsert it.
CAUTION:Bending the tab too far might damage the cartridge or cause the tab to break off.
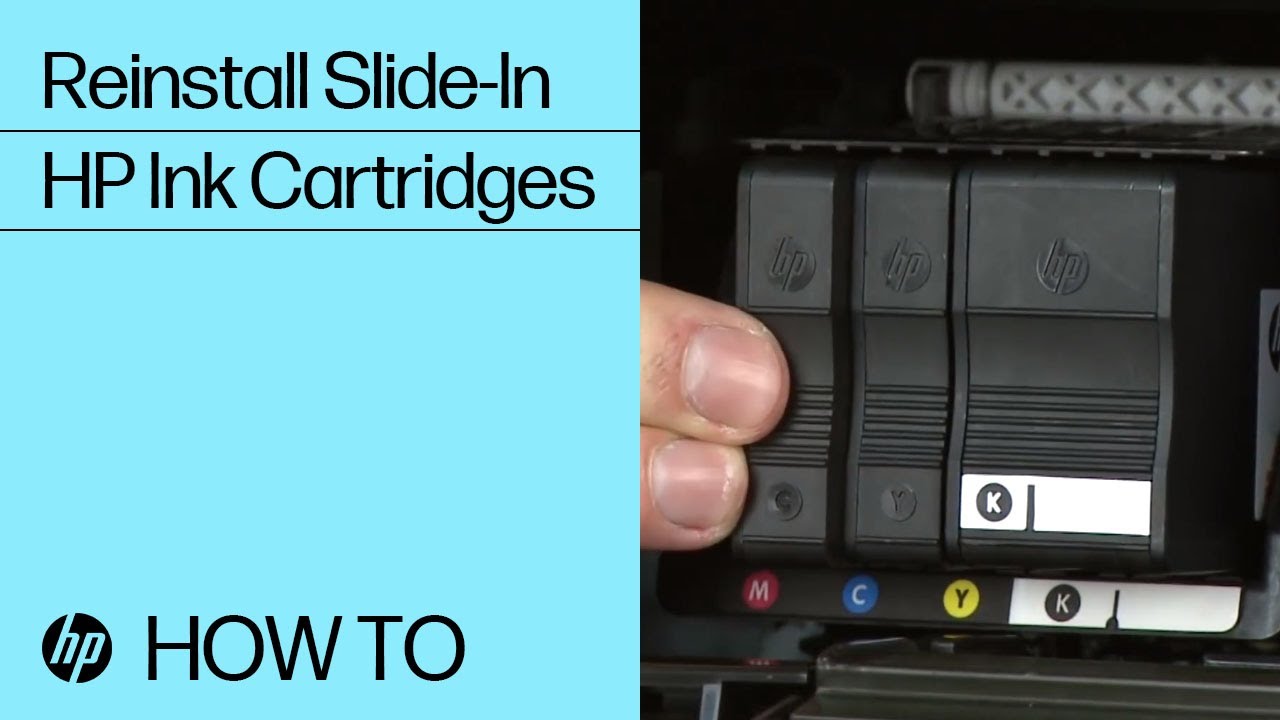
Type B - HP 932, 933, 950, 951-959, 962-969 - Replace cartridges
Replace cartridges for printers that use 932, 933, 950, 951, 952, 953, 954, 955, 956, 957, 958, 959, 962, 963, 964, 965, 966, 967, 968, and 969 cartridges.
-
Push in on the front of a cartridge to release it from the carriage.
CAUTION:Do not lift the latch handle on the side of the carriage. This can unseat the printhead and cause print mechanism damage and printing problems.
Type C - HP 21, 22, 27, 28, 56-67, 61/301, 63/302, 64/303, 65/304, 74, 75, 92-98, 123-125, 302-305, 652, 653, 667, 680, 682, 803-805, and 901 - Replace cartridges
Replace cartridges for printers that use 21, 22, 27, 28, 56-67, 61/301, 63/302, 64/303, 65/304, 74, 75, 92-98, 123-125, 302-305, 652, 653, 667, 680, 682, 803-805, and 901 cartridges.
-
Remove a cartridge from the carriage.
-
Carriages with cartridge latches: Open the latch, and then pull the cartridge up and out of the slot.
-
Carriages without cartridge latches: Gently press down on the cartridge to release it, and then pull it out of the slot.
-
-
Remove the tape from the cartridge.
CAUTION:Do not attempt to replace the protective tape or touch the copper-colored contacts or the ink nozzles. Touching these parts can result in an ink system failure.
Enter a topic to search our knowledge library
What can we help you with?

Need Help?