HP PCs - Error Messages Display on a Blue Screen (Windows 10)
There are many reasons that a computer displays a blue screen when operating or when it fails to start or boot into the Windows operating system. If your computer displays a blue screen, you might see or hear symptoms to indicate the general area of the problem.
If you are not sure what the problem is, go to HP PCs - Computer does not start (Windows 10).
Use this document if the computer stops responding and displays a blue screen or continually restarts. In most cases, an error message or code is displayed on the blue screen, the computer does not respond to commands typed on the keyboard, and it is necessary to press and hold the power button for 15 seconds or more to turn off the computer.
Note:
Depending on your version of Windows, some graphics and information in this document might vary slightly.
If your computer suddenly fails to boot properly, you might need to try the following solutions in order until the issue is resolved: disable auto restart, perform a power reset, use Microsoft System Restore, test for hardware faults, or update your computer in addition to other troubleshooting steps.
Disabling the automatic restart option to view error messages
Errors might occur but not display if Automatic restart is enabled. Disable this option to allow the computer to display error messages instead of restarting. You might be able to use the infromation in the error message to resolve the issue.
-
Remove the check mark next to Automatically restart, and then click OK.
The computer no longer restarts automatically when a problem occurs. Instead, a blue screen displays with useful information. You can search for a resolution using the information in the error.
Resetting the power on your computer
If your computer fails to boot properly, you might need to perform a power reset, which might involve removing the battery, pressing a key or combination of keys, or other steps.
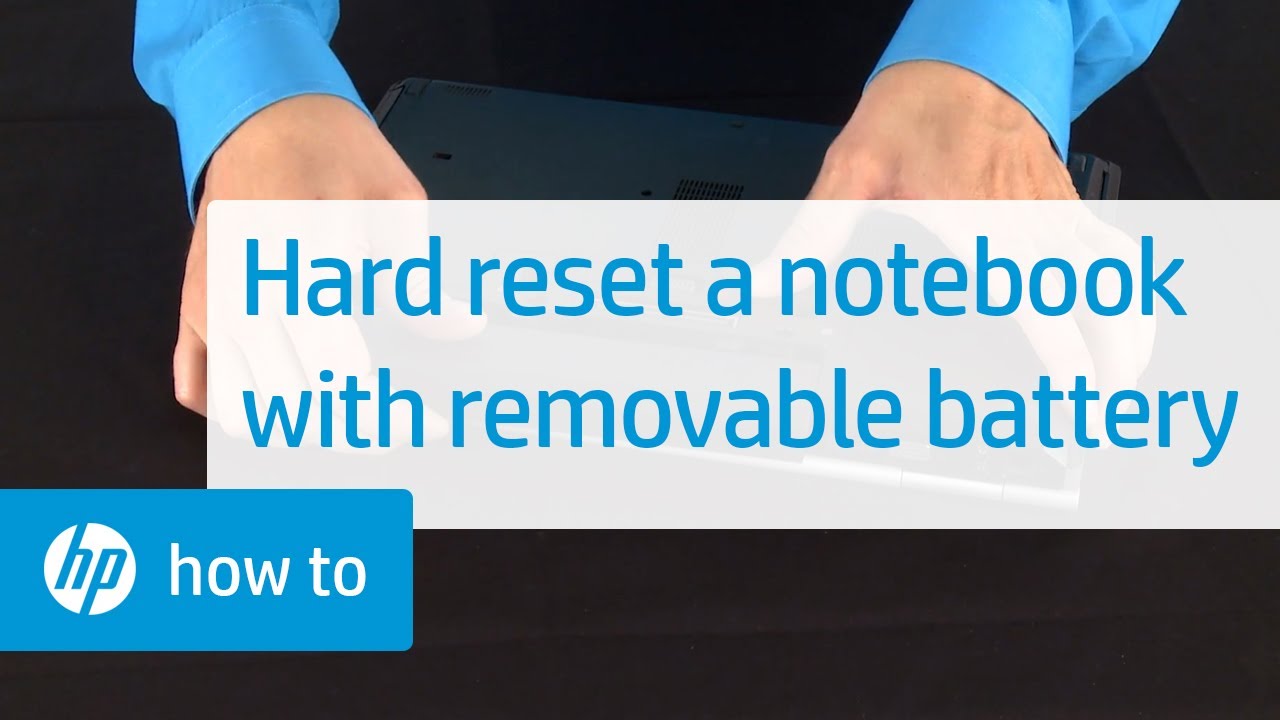
Power reset a laptop with removable battery
Perform a power reset on your notebook with a removable battery.
-
Turn off the computer, and then unplug the power cord.
-
Disconnect any peripheral devices, and then remove the computer from any port replicator or docking station.
-
Remove the battery from the computer.
-
With the battery and power cord unplugged, press and hold the Power button for approximately 15 seconds.
-
After you drain the capacitors, re-insert the battery, and then plug in the power cord. Leave peripheral devices disconnected.
-
Turn on the computer.
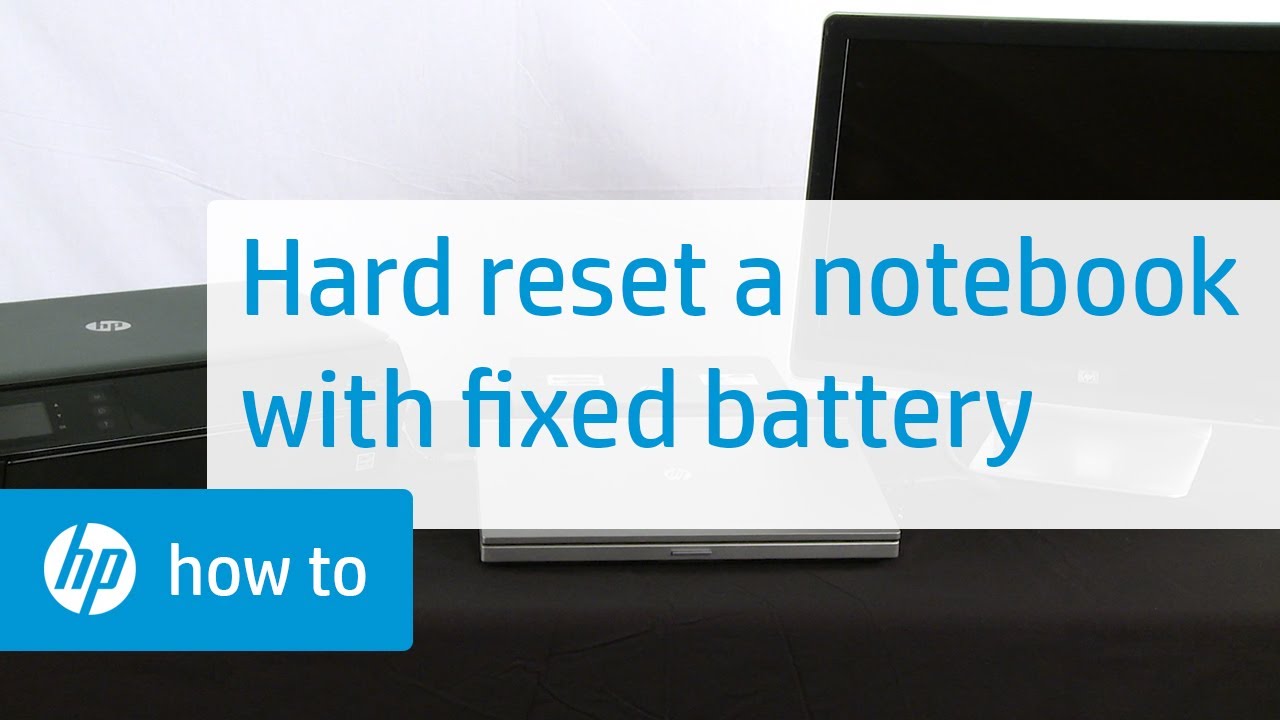
Power reset a notebook with a non-removable battery
Perform a power reset (or hard reset) of your notebook to clear information from the computer memory without erasing personal data.
-
Turn off the computer.
-
Disconnect the AC adapter.
-
Remove any discs from the disc drive.
-
Remove memory cards from the card reader slot.
-
Disconnect all nonessential peripheral devices, such as printers, scanners, external hard drives, and USB flash drives.
-
With the AC adapter unplugged, press and hold the power button for approximately 15 seconds.
-
Reconnect the AC adapter, and then turn on the computer.
Power reset button configurations for power resetting a laptop with a non-removable battery
When power resetting a laptop with a non-removable battery, you might need to use one of the following power reset button combinations.
|
Common model name |
Typically designated button combination |
|---|---|
|
HP ENVY 17 2D and 3D |
Press and hold the Power and Beats buttons for 8–10 seconds. |
|
HP ENVY 15-3000 series |
Press and hold the Power and Beats buttons for 8–10 seconds. |
|
HP ENVY 14 Spectre |
Press and hold the Power and Mute buttons (on the right side of the palm rest) for 8–10 seconds. |
|
HP EliteBook Folio 1040 G1 |
Press and hold the Power and Mute buttons at the same time for 15 seconds, or until the computer restarts. |
Power reset your desktop computer
Perform a power reset (or hard reset) of your desktop computer to clear information from the computer memory without erasing personal data.
Correct blue screen errors using Windows System Restore
Some blue screen errors can be corrected by restoring your computer to a previous state when it functioned normally.
For business computers, if you do not have the option to restore the computer, contact your company's IT department or your local IT service.
Restore your computer when Windows starts normally
If the computer stops working correctly, but Windows starts as expected, you can restore it to a previous point in time when it was working.
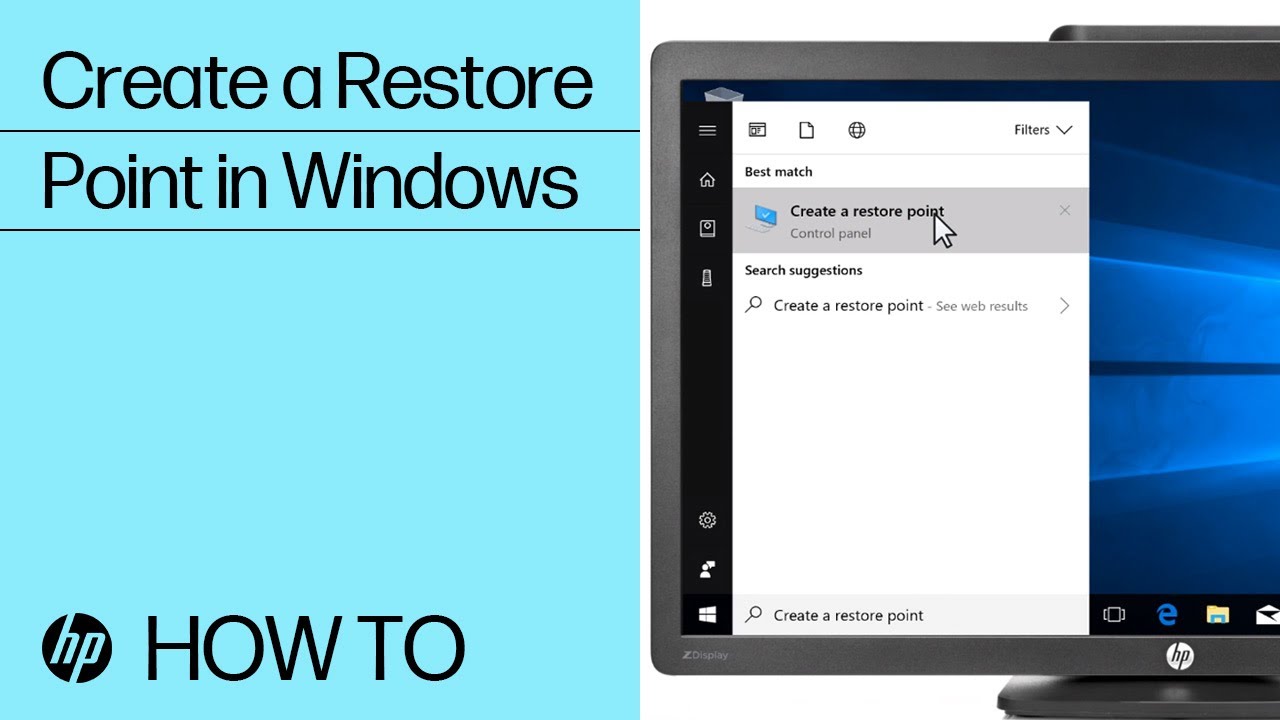
Create a restore point
Windows automatically creates restore points at regularly scheduled intervals and before many software installations. If you would like to create a restore point manually, use the steps below.
-
On the System Protection tab, click Create.
-
Click Close.
Restore your computer when Windows starts normally
Restore your computer to a previous point in time.

-
On the System Protection tab, click System Restore.
-
Select the restore point you want to use, and then click Next.
-
Read the warning about not interrupting System Restore, and then click Yes.
CAUTION:Allow System Restore to complete without interruption to avoid corrupting the hard drive or causing additional damage to the computer.
System Restore returns the computer configuration to a previous point in time and restarts the computer.
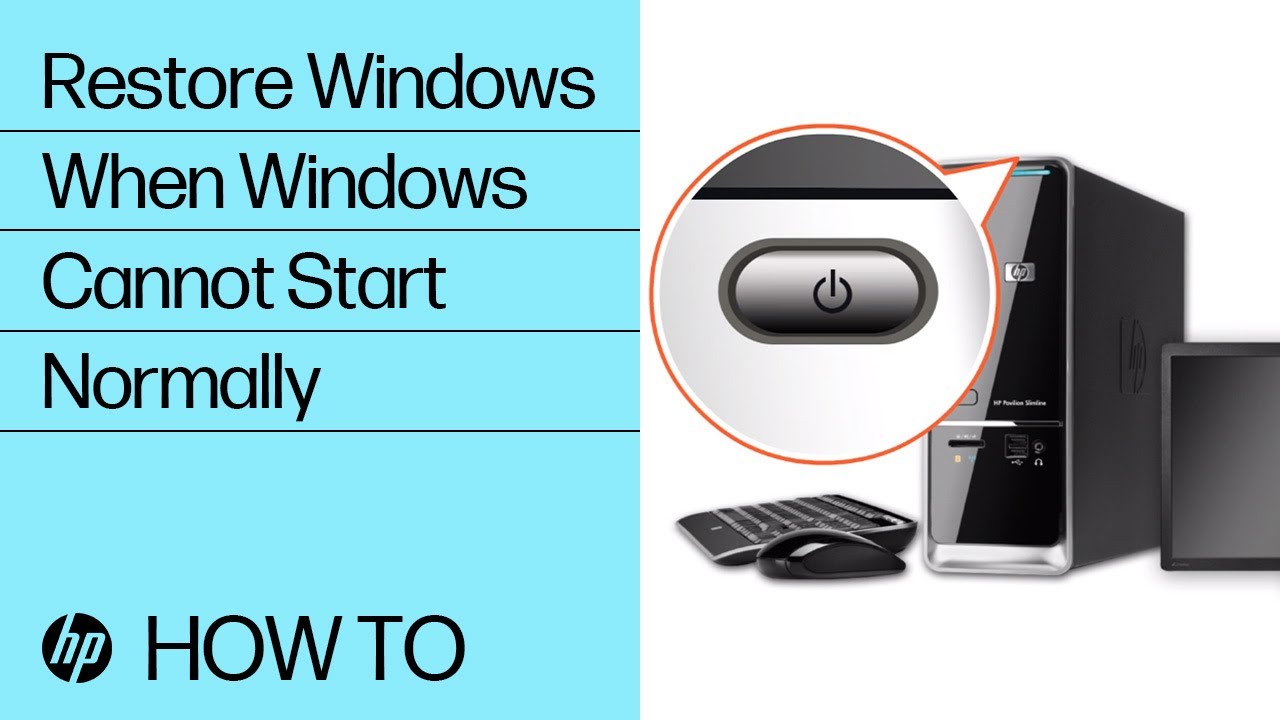
Restore your computer when Windows cannot start normally
Use Microsoft System Restore from the Windows loading screen when Windows does not start normally.
-
Click Next.
-
Click Finish to restore your computer to a previous point.
-
Click Yes in the caution that displays.
CAUTION:Do not interrupt System Restore when it starts.
Correct blue screen error messages by testing for hardware failures
Blue screen error messages can be caused by hardware failures. Use these steps to determine if your computer hardware is functioning within the correct parameters.
For instructions on how to test for hardware failures to ensure that your hardware is functioning correctly, see HP PCs - Testing for hardware failures in Windows 10.
Update your computer with HP Support Assistant or Windows Update
You can resolve many blue screen errors or messages by updating your computer using either HP Support Assistant or Microsoft Windows Update.
Update the PC with HP Support Assistant
Use HP Support Assistant to find and install updates, including BIOS updates, for your computer with Windows.
-
In Windows, search for and open HP Support Assistant, or click the app icon
in the taskbar.
If the app is not installed on your computer, download the latest version from the HP Support Assistant website.
Run Windows Update
Update your Windows 11 or Windows 10 computer using Windows Update.
Perform a Windows system reset
If the issue persists, recover the computer back to its original configuration.
Microsoft provides a reset feature that repairs your computer by reinstalling the operating system. Before using this option, make sure you back up all your important files.
Go to HP PCs - Reset the computer for more information.
Contact HP Customer Support
Contact HP Customer Support for further assistance if the issue persists.
-
Enter your product serial number to view warranty status and to change your location, if necessary.
-
Select a support option. Support options vary by country/region.
Enter a topic to search our knowledge library
What can we help you with?

Need Help?