Sometimes Windows does not detect the presence of a battery. This can occur even if your battery is working properly. To try to resolve this issue, try the following possible solutions.
If you notice your notebook battery is swollen or deformed, see HP Notebook PCs - Swelling or deformation of notebook battery for more information.
After each step, test the battery to see if the procedure worked. You can test the battery while the AC power is connected or when the notebook is running on battery-only power.
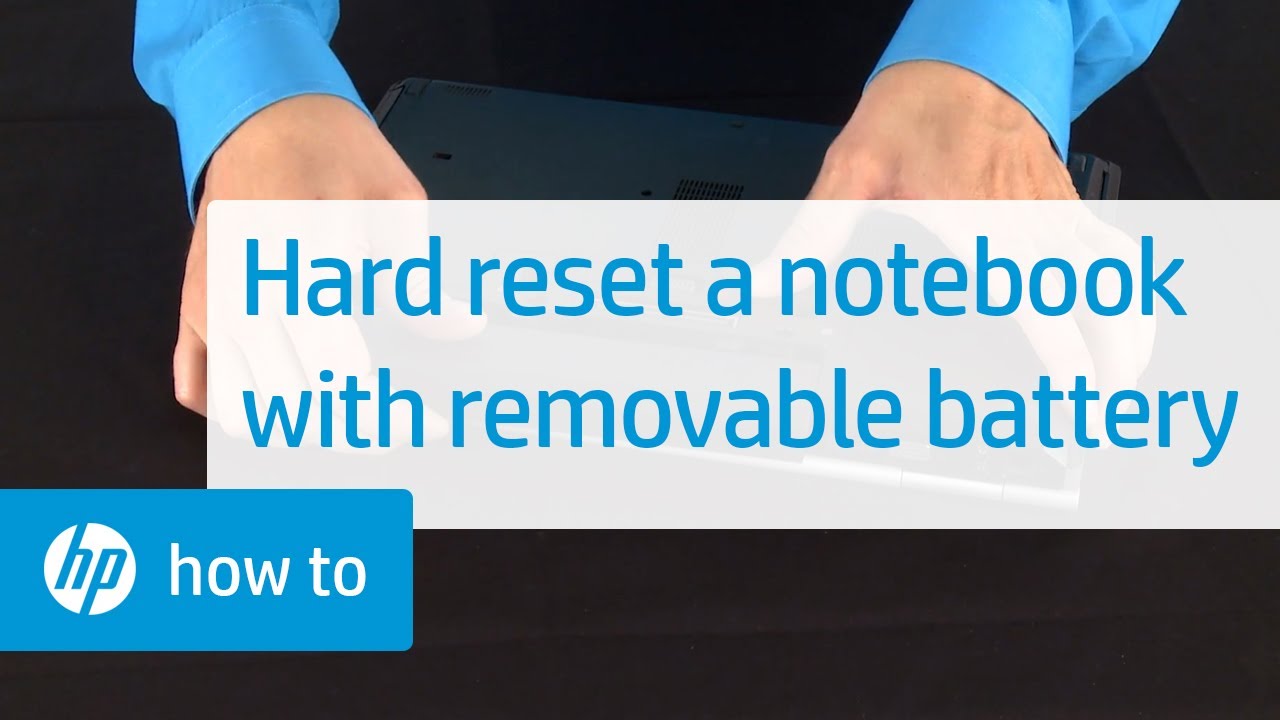
Performing a hard reset erases all the information that is stored in your notebook's temporary memory. This forces Windows to do a complete scan of the system, including the battery.
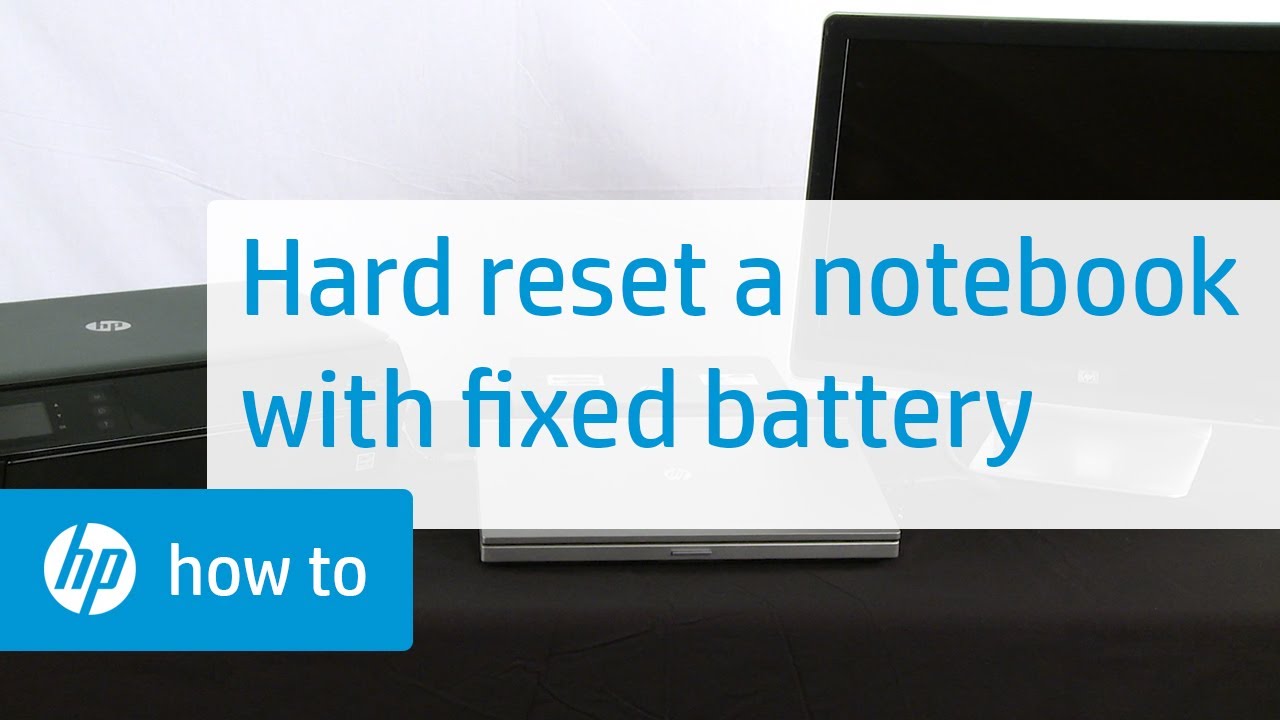
Perform a power reset on your notebook with a removable battery.
Turn off the computer, and then unplug the power cord.
Disconnect any peripheral devices, and then remove the computer from any port replicator or docking station.
Remove the battery from the computer.
With the battery and power cord unplugged, press and hold the Power button for approximately 15 seconds.
After you drain the capacitors, re-insert the battery, and then plug in the power cord. Leave peripheral devices disconnected.
Turn on the computer.
Perform a power reset (or hard reset) of your notebook to clear information from the computer memory without erasing personal data.
Turn off the computer.
Disconnect the AC adapter.
Remove any discs from the disc drive.
Remove memory cards from the card reader slot.
Disconnect all nonessential peripheral devices, such as printers, scanners, external hard drives, and USB flash drives.
With the AC adapter unplugged, press and hold the power button for approximately 15 seconds.
Reconnect the AC adapter, and then turn on the computer.
Restore the default BIOS settings to return the BIOS to the factory settings that your notebook was shipped with.
BIOS configurations vary, depending on computer model. For more information about accessing and navigating the BIOS menu, see the documentation for your computer model.
Press the power button to turn on the notebook and repeatedly press f10 to enter the BIOS setup.
Navigate through the BIOS and select the option to restore the BIOS defaults. The option is called Restore Defaults or Setup Defaults, or something similar.
Confirm that you want to restore the BIOS defaults, and then select the option to save and exit the BIOS setup.
You can download and install the latest update for your BIOS to update it to the latest version.
For instructions on updating the BIOS, see HP Consumer Notebook PCs - Updating the BIOS (Basic Input Output System) (Windows) or HP Business Notebook PCs - Updating the BIOS (Basic Input Output System).
To determine if the notebook can start using battery power only, disconnect the AC power from the notebook PC and then try to boot the notebook PC on battery-only power.
If the notebook PC starts on battery-only power, then reinstall the operating system by performing a system recovery. For instructions on performing a system recovery, see HP PCs - Software recovery options (Windows 11 and Windows 10).
If the notebook PC does not start on battery-only power, see HP Customer Support - Contact.
HP provides several different tools you can use to test the battery.
HP provides diagnostic software you can use to test hardware components on your computer and confirm hardware failures. The Battery Test checks your system to make sure the battery is functioning properly.
Depending on which version of Windows or HP PC Hardware Diagnostics you are using, the information and graphics in this procedure might vary slightly.
Turn on the computer.
Search for HP PC Hardware Diagnostics Windows, right-click the app in the search results, and then select Run as administrator.
If the app is not installed on your computer, download the latest version. See What if my computer does not have the HP PC Hardware Diagnostics for Windows? for more information.
Click Component Tests in the main menu.
In the list of Component Tests, click Power.
Select Battery Check, and then click Run once.
Wait while the test is in progress. The Battery Test takes about two minutes.
Click Finish on the Component Tests page.
Select Test Logs to see the results of the battery test.
When the testing is done, review the test logs that display for the status or condition of the battery.
If your battery passed, click Main Menu or click Details for more information.
If your battery failed, continue with these steps.
Check the following for suggested actions, and then write down the battery status and Failure ID. Keep the battery status and Failure ID so you have them available if you need to contact HP Customer Support.
The information in the table is also available in the Test Logs section on the main menu.
Status |
Message |
Suggested action |
---|---|---|
Passed |
The battery functions properly and as expected. |
Read the remainder of the message for more information. |
Weak or Very Weak |
The battery functions correctly, but due to normal aging of the battery, the battery life between charges is now significantly shorter than when it was new. |
This status message is displayed when there is decrease in capacity of battery that occurs over time and with use. The battery should be replaced to get the most working time out of your battery. |
Replace |
The battery reports a failure and needs to be replaced as soon as possible. |
Replace the battery. If your computer is within its warranty period, you can contact HP support to verify if your battery is covered. |
Failure with an ID number |
The battery experienced a hardware failure. |
Write down the battery status and Failure ID. Keep the battery status and Failure ID so you have them available if you need to contact HP Customer Support. |
No Battery |
HP Battery Check did not detect a battery. |
A battery is not installed or detected in the battery compartment. If a battery is installed, remove the battery and inspect the pins to see if there is dirt or other foreign matter blocking the connection. Fully insert a battery into the compartment if a battery was not inserted and you want to test the battery in that compartment. |
Unknown |
HP Battery Check could not access the battery. |
Remove and reinsert the battery. You might need to download and install all the updates from HP Support Assistant. |
HP Battery Check is a utility in HP Support Assistant that provides a simple but accurate test of the battery in Windows.
To use HP Support Assistant to check and calibrate the battery, follow these instructions:
In Windows, search for and open HP Support Assistant.
If the app is not installed on your computer, go to HP Support Assistant to download the latest version.
On the My Dashboard tab, click Battery. The battery page is displayed.
Click Run battery check.
Wait while the battery check completes.
HP Battery Check displays the battery status.
Review the HP Support Assistant Battery Check results. Status results you might see include the following:
Status |
Message |
Suggested action |
---|---|---|
Passed |
The battery functions properly and as expected. |
Read the remainder of the message for more information. |
Weak or Very Weak |
The battery functions correctly, but due to normal aging of the battery, the battery life between charges is now significantly shorter than when it was new. |
This status message is displayed when there is decrease in capacity of battery that occurs over time and with use. The battery should be replaced to get the most working time out of your battery. |
Replace |
The battery reports a failure and needs to be replaced as soon as possible. |
Replace the battery. If your computer is within its warranty period, you can contact HP support to verify if your battery is covered. |
Failure with an ID number |
The battery experienced a hardware failure. |
Write down the battery status and Failure ID. Keep the battery status and Failure ID so you have them available if you need to contact HP Customer Support. |
No Battery |
HP Battery Check did not detect a battery. |
A battery is not installed or detected in the battery compartment. If a battery is installed, remove the battery and inspect the pins to see if there is dirt or other foreign matter blocking the connection. Fully insert a battery into the compartment if a battery was not inserted and you want to test the battery in that compartment. |
Unknown |
HP Battery Check could not access the battery. |
Remove and reinsert the battery. You might need to download and install all the updates from HP Support Assistant. |
After the battery charges and discharges, recharge it back to a full charge to perform a battery test before Windows starts.
Disconnect the AC adapter.
Press and hold the Power button for at least five seconds to turn off the computer.
Turn on the computer and immediately press esc repeatedly, about once every second. When the startup menu appears, press f2. The HP PC Hardware Diagnostics menu is displayed.
Click Component Tests in the main menu.
In the list of Component Tests, click Power.
In the list of Power Tests, click Battery.
On the Battery Test page, click Run once. The Battery Test begins.
The Battery Test takes about two minutes. The Battery Calibration, if needed, requires 2 to 4 hours. You can cancel at any time by pressing the esc key.
Wait while the battery check completes.
When the testing is done, review the first line on the Battery Check page that displays the status or condition of the battery.
If your battery passed, click Main Menu or click Battery Details for more information.
If the battery passes and needs to be calibrated, click Calibrate Battery.
If your battery failed, continue with these steps.
If your battery failed, check the following table for suggested actions, and then write down the battery status and Failure ID. Keep the battery status and Failure ID so you have them available if you need to contact HP Customer Support.
The information in the table is also available in the Test Logs section on the main menu.
Status |
Message |
Suggested action |
---|---|---|
Passed |
The battery functions properly and as expected. |
The battery does not need calibration. Read the remainder of the message for more information. |
Calibrate |
The battery functions correctly, but it needs to be calibrated. |
Read and respond to the message that is displayed. If the option to use the HP battery auto calibration feature is displayed, this is preferred. Otherwise, click Learn How to Calibrate your Battery for the steps to calibrate your battery.
Note:
Battery calibration might take several hours to complete and is best performed during long periods when the computer is not in use. |
Weak or Very Weak |
The battery functions correctly, but due to normal aging of the battery, the battery life between charges is now significantly shorter than when it was new. |
This status message is displayed when there is decrease in capacity of battery that occurs over time and with use. The battery should be replaced to get the most working time out of your battery. |
Replace |
The battery reports a failure and needs to be replaced as soon as possible. |
Replace the battery. If your computer is within its warranty period, you can contact HP support to verify if your battery is covered. |
Failure with an ID number |
The battery experienced a hardware failure. |
Write down the battery status and Failure ID. Keep the battery status and Failure ID so you have them available if you need to contact HP Customer Support. |
No Battery |
HP Battery Check did not detect a battery. |
A battery is not installed or detected in the battery compartment. If a battery is installed, remove the battery and inspect the pins to see if there is dirt or other foreign matter blocking the connection. Fully insert a battery into the compartment if a battery was not inserted and you want to test the battery in that compartment. |
Unknown |
HP Battery Check could not access the battery. |
Remove and reinsert the battery. You might need to download and install all the updates from HP Support Assistant. |
Some computers might not have the HP PC Hardware Diagnostics Windows tool. HP provides diagnostic software you can use to test hardware components on your computer.
HP PC Hardware Diagnostics for Windows is a Windows -based utility that allows you to run diagnostic tests to determine whether the computer hardware is functioning properly. The tool runs within the Windows operating system to diagnose hardware failures.
To download the latest version, go to the HP Hardware Diagnostics website.
Click the IN WINDOWS tab, and then click Download HP Diagnostics Windows.
Follow the on-screen instructions to download and install HP PC Hardware Diagnostics for Windows.
For more information about HP PC Hardware Diagnostics for Windows, go to HP PCs - Testing for hardware failures in Windows 10.
For more information about notebook batteries, see the following documents.